
You poured the perfect candle. The wax looked glassy, the scent was right, and the colour was even. Then you returned in the morning and found a deep crack running down the side with a crater in the middle. All that work vanished in one cool night.
Cracks and sinkholes are the least talked about failures in candle making, and also the most common. They happen during cooling, not pouring. The good news is that stop candles cracking is a science that any home maker can control with three simple techniques: pour at the right temperature, cool in the right place, and top up after the first hour. The related pillar candle making guide covers the steps that turn wax into a stable pillar.
Why Candles Crack During Cooling
When hot wax cools, it shrinks. Different layers of the candle cool at different speeds, which pulls stress through the solidifying wax. The outer shell hardens first, then the still-liquid centre shrinks as it freezes, dragging the shell inward. If that tension exceeds what the wax can hold, a crack opens. Our guide on Silicone vs Plastic Candle Moulds: Which One Should Beginners Buy? covers this in more depth.
The Sinkhole Problem
A sinkhole is the visible crater at the top of a candle, formed when the centre freezes last and contracts below the rim. It is not a leak or a flaw in your wax. It is maths: the volume of wax shrinks by several percent as it changes from liquid to solid, and somebody has to give somewhere.
Why Fast Cooling Makes It Worse
Rush the cool-down, by refrigerating or pouring into a cold mould, and the outside hardens before the inside has finished shrinking. The result is a shell under stress that then cracks. Slow, even cooling lets every layer contract together, sharing the movement instead of fighting it.
Controlling the Pour for Fewer Cracks
Most cracking is decided before the wax reaches the mould. The pour temperature sets the stage for how the wax behaves as it cools. Pouring too hot creates more shrinkage; pouring too cool creates air bubbles. The sweet spot sits in between and depends on your wax.
- Paraffin pillar wax: pour around 70–75°C.
- Soy pillar blends: pour around 75–80°C.
- Beeswax: pour at the hotter end, around 80°C.
- Always use a thermometer rather than timing, since kitchen guessing is the usual culprit.
The Ambient Temperature Game
The room matters as much as the pour. Aim for a steady, warm-ish room above about 18°C without radiators blasting or windows open. Draughts create uneven cooling. A calm corner with stable air is your best friend, and a cardboard box over the mould slows cooling even further for thick candles.
Why a Warm Mould Keeps Cracks Away
A pre-warmed silicone or plastic mould slows the initial chill. When the mould is warm, the wax stays fluid longer, fills every detail, and contracts more evenly as one body. Cold moulds chill the outer ring instantly, which is the exact recipe for a cracked shell.
The Top-Up: A Fix and a Prevention
Sinkholes are so predictable that professional makers simply plan for them. After the candle has cooled for roughly an hour, the surface begins to set and the centre hunches. This is your cue to top up with a small amount of spare wax poured down the middle.
When to Top Up
Timing is everything. Top up too soon and the fresh wax mixes with hot wax and the sinkhole just returns. Top up too late and a visible seam separates the pours. Around the one-hour mark, when the dome has formed but the wax is not yet hard, pour a careful second cap and let it freeze level.
Avoiding Visible Seams
To keep the second pour invisible, bring the top-up wax to a slightly higher temperature so it melts the surface it touches and fuses cleanly. Score the top lightly in a crosshatch pattern if your wax is stubborn. The seam disappears and the candle looks poured in one piece.
Fixing a Candle That Has Already Cracked
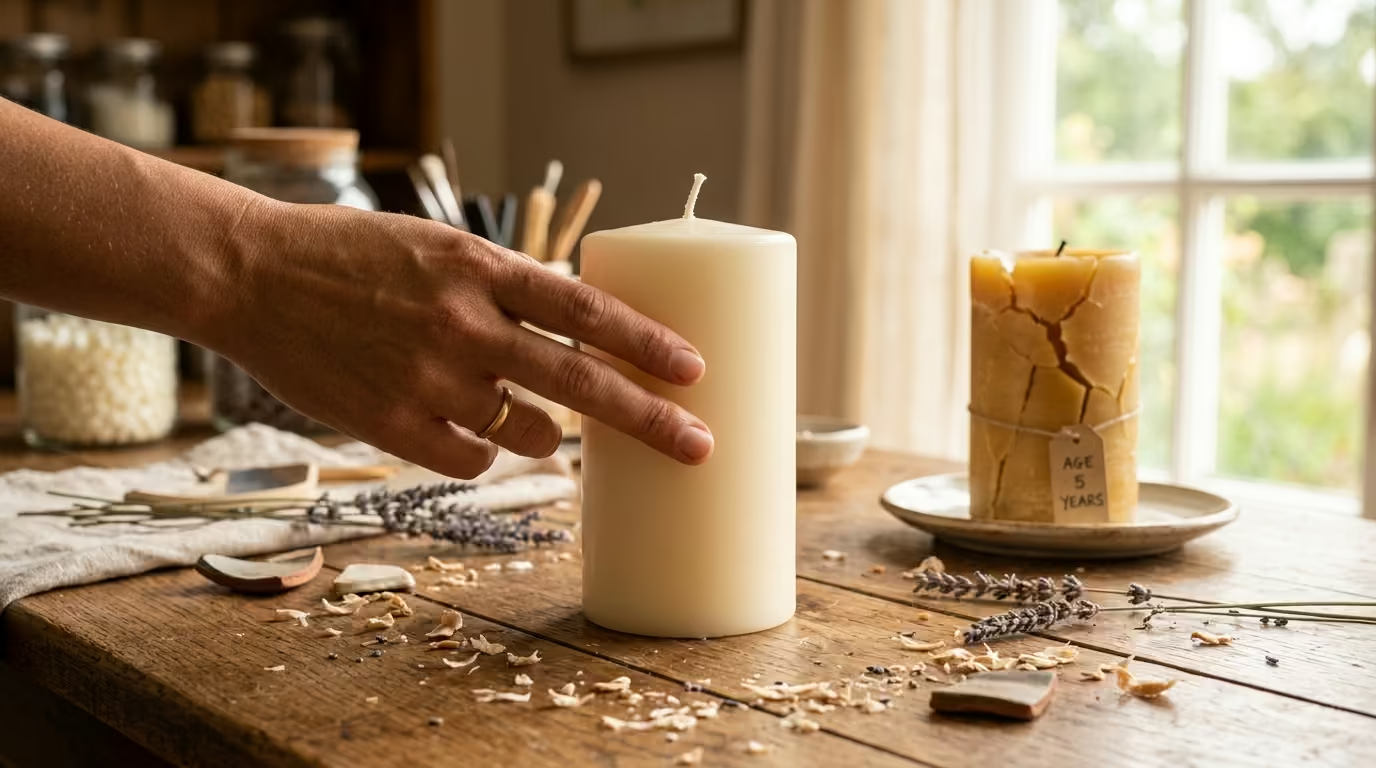
Not every cracked candle is lost. Shallow surface cracks can be melted away with a heat gun passed quickly over the surface, letting the wax re-flow and level itself. Deep structural cracks in the moulded wall are harder and are usually best melted down and repoured rather than patched.
Melting Down and Starting Again
Candle wax is infinitely recyclable. A cracked pillar can be melted gently in a double boiler, strained of wick debris, and repoured into the same mould. Many beginners fear wasting wax, but reusing failed candles is standard practice and costs nothing but a clean.
Flooding Versus Full Repour
For a sinkhole with healthy walls, a flood pour is enough: heat fresh wax and pour a thin layer over the top to resurface. For a split side, a full repour is the honest fix, since internal cracks often run deeper than the surface shows. Match the repair to the severity of the damage.
Cooling Checkpoints for Every Project
Build these checkpoints into every candle session and cracking becomes rare. Each one is a two-second check that catches a problem before it hardens into a defect. Experienced makers do this automatically without thinking about it.
- Before pouring: confirm the pour temperature with a thermometer.
- After pouring: tap the mould to release trapped air near details.
- During cooling: keep the mould in a stable, draught-free room.
- At one hour: check for the sinkhole dome and mark your top-up moment.
- Next morning: unmould slowly; a clean pull means the release worked.
The Styrene-Free, Additive Difference
Some waxes crack more than others. Adding a small amount of stearin or a hardener to soft blends stiffens the wall through cooling so the shell resists stress. Read your wax label and add what the maker recommends. This small step fixes many cracking problems at the chemistry level.
Control the Cooling Stage
Reduce Sudden Temperature Changes
Cracks often begin when the outer wax cools faster than the centre. A cold surface, open window, or rapid move can increase that difference. The maker should let the candle cool on a stable surface away from drafts. A slower, even change gives the wax time to contract with less stress. Patience is usually cheaper than remelting a damaged batch. Our candle moulds range has more choices along these lines.
Inspect the Surface Before Use
A small mark can reveal a larger problem below the surface. The maker should check the base, sides, and wick area before trimming or decorating. A 60x120mm red pillar candle offers a simple reference size for testing a cooling routine. Any candle with a deep crack, loose wick, or unstable base should not be lit.
Frequently Asked Questions
Why do my candles crack when they cool?
Candles crack because cooling wax shrinks at different rates in different layers. The outer shell hardens first while the centre contracts, pulling stress through the wall. Fast cooling and high pour temperatures both make the effect worse.
How do I stop candles from cracking and forming sinkholes?
Pour at the recommended temperature, keep the room stable and draught-free, pre-warm your mould, and top up the surface after about an hour of cooling. Slow, even cooling plus a planned top-up removes both cracks and sinkholes.
What is a candle sinkhole and is it serious?
A sinkhole is a dish-shaped crater left when the last molten centre of the candle contracts on cooling. It looks bad but never affects how the candle burns. Plan a second pour and the crater disappears completely.
Can I put candles in the fridge to cool faster?
No. Refrigerating candles shocks the outer shell into early hardening and causes cracking and frosting. Cool candles slowly at room temperature, ideally in a still room around or above 18°C, and you will avoid nearly all cooling faults.
When should I top up a candle mould?
Top up roughly an hour after the pour, once a dome or crater has formed at the surface but the wax is still soft. Use slightly hotter wax for the top-up so it fuses without a visible seam. Waiting too long leaves a line; acting too soon brings the sinkhole straight back.
Can I fix a candle that has already cracked?
Shallow surface cracks can be reflowed with a gentle pass from a heat gun. Deep structural cracks are safer to remelt and repour, since the internal fault rarely shows. Wax is recyclable, so a bad candle is a second pour, not waste.
Does the type of wax change how much it cracks?
Yes. Firmer pillar blends crack less because they hold structure during cooling. Soft container waxes sink and crack far more, which is one reason they belong in jars rather than moulds. Stiffeners like stearin reduce cracking in softer blends.
Where can I find candle-making supplies to avoid these issues?
The candles moulds range at Christmas Candles UK includes the silicone and plastic shapes used for clean pours, and the product information notes the cooling care each craft piece needs. Pair the right mould with the right wax and your cooling fixes become routine.
Conclusion
Stop candles cracking is achievable with three habits: pour at the wax maker’s suggested temperature, cool slowly in a stable room, and top up the surface after the first hour. Sinkholes and side cracks are cooling-stage math, not personal failure, and every professional maker plans for them.
Master the cooling routine and your candles will leave the mould whole and smooth every time. Browse the candles moulds collection at Christmas Candles UK and put these techniques to work on a project this weekend.