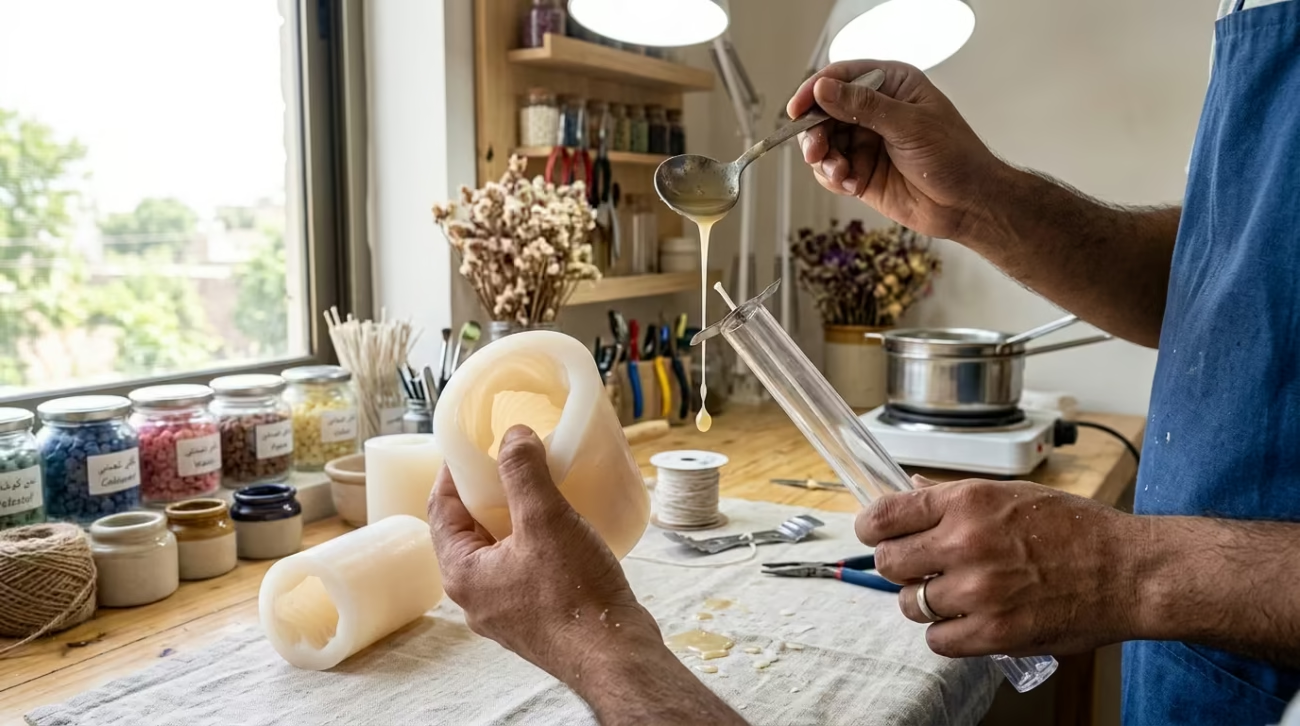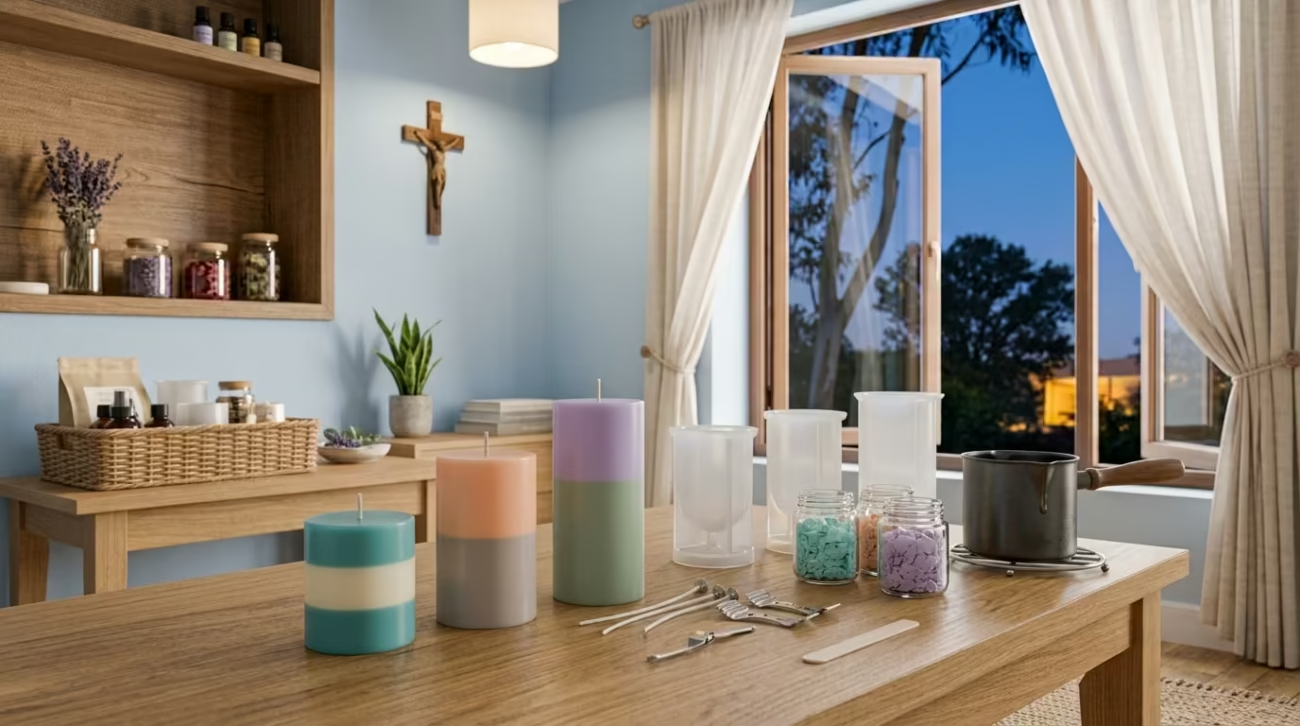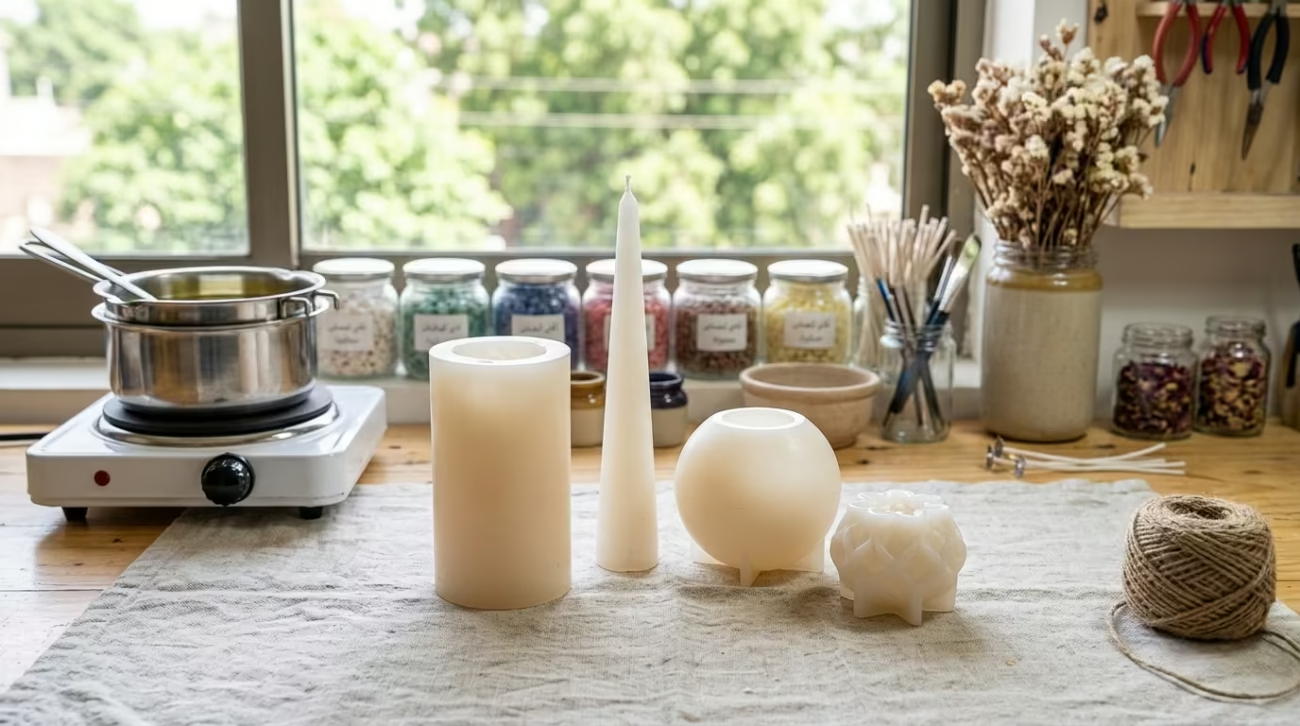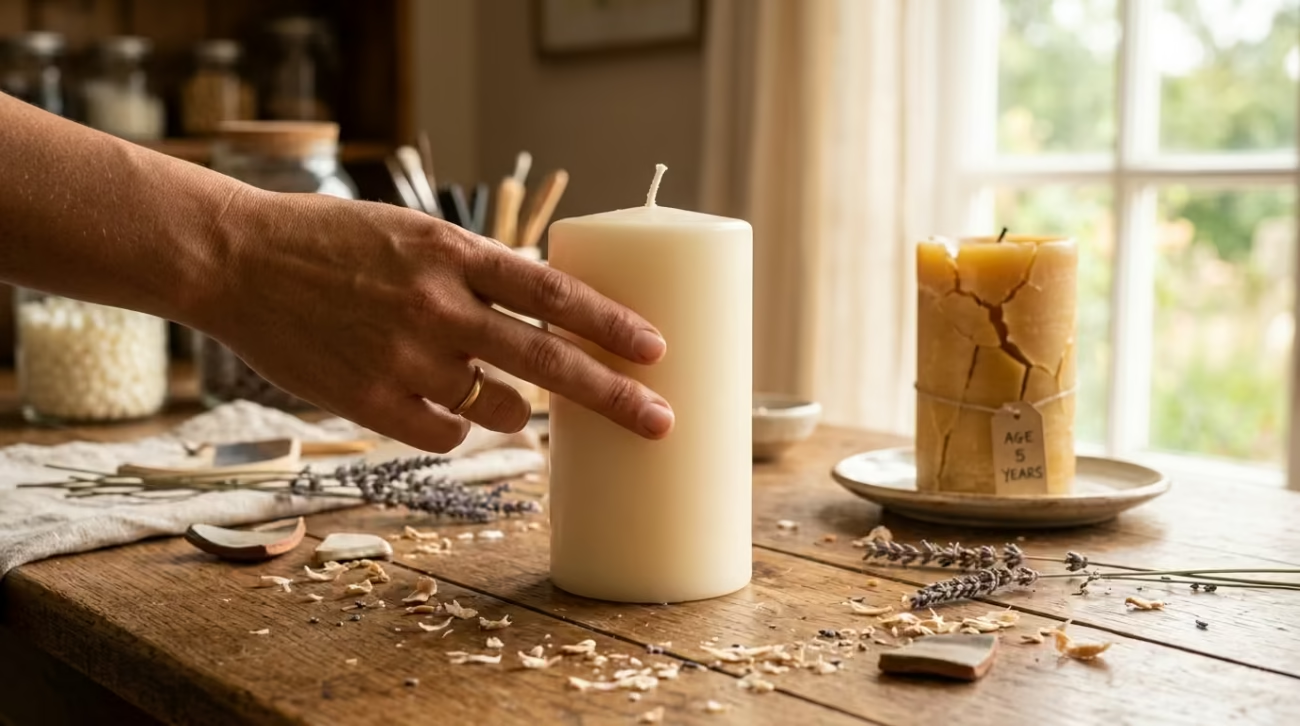

There is a small magic in pouring a candle. Wax melts, a wick waits in a mould, and forty minutes later a solid cylinder of warm potential exits the mould looking exactly like the shop shelf version. The first pour feels like a trick, and then the trick becomes a habit, and then a shelf of candles you made yourself.
Making a pillar is the classic entry: one shape, one mould, a few controls. Make your own pillar candle and you own the whole skill, because every fancier candle is this same process with more decoration. This guide walks the beginner pour from melting to unmoulding, with the exact habits that keep the result clean and straight. The related candle making beginner guide is a useful starting point before the first pillar pour.
The Equipment You Need (Nothing Exotic)
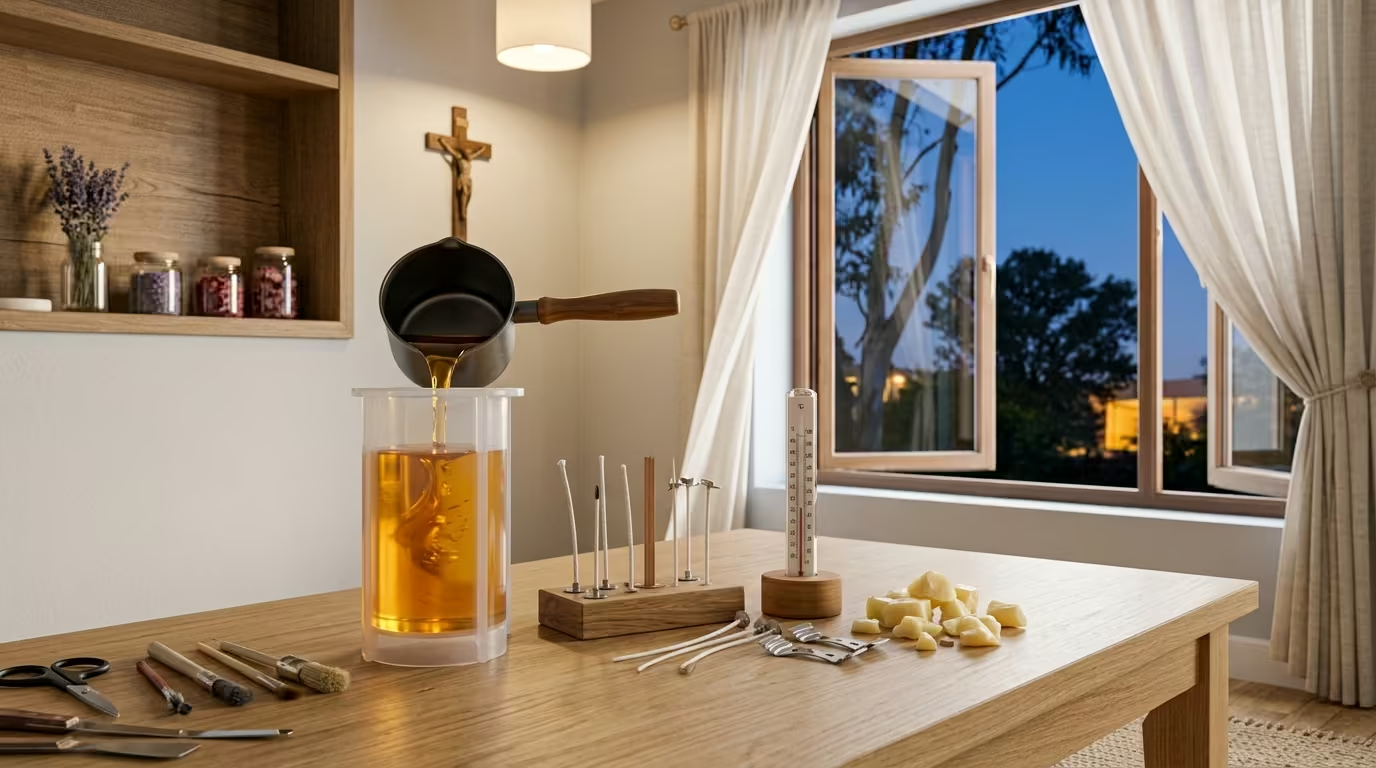
The beginner pillar kit is small: a mould, wax, wick, a double boiler, and a thermometer. Most homes own the boiler and most stones have a thermometer. Buy the mould, the wax, and the wick, and the craft is open. No press, no special pistons, no mystery machines.
The Mould and the Wick
A silicone pillar mould releases its candle easily and needs no greasing, which makes it the beginner’s best friend. The wick must suit your pillar’s width; a fat pillar wants a thicker wick. Check the wick’s recommended diameter so the flame matches the candle you pour. If this is useful, our guide on How to Make a Two-Tone or Layered Candle goes further into related ground.
Wax and the Double Boiler
Paraffin pillar wax holds its shape without a container, which is why retail pillar candles use it. Soy pillar blends work too with slightly softer results. Melt the wax in a double boiler pot sitting in a pan of water, never directly on the heat, so the temperature stays gentle and safe.
Step One: Prepare the Mould and Wick
Cleanliness and a centred wick decide a good pillar. Take the two minutes to lay the mould out properly and every later step behaves. This is the most overlooked part of the craft, and the home candlemaker who does it rarely fails.
- Clean and dry the mould thoroughly.
- Insert the wick and centre it carefully.
- Keep the wick taut with a pin or clamp at the top.
- Seal any wick hole with a touch of wax or tape.
- Have the pouring pot and thermometer ready before melting.
Sealing and Centring
The wick must sit dead centre, top and bottom, or the pillar melts unevenly. Run it straight from the base hole to the top pin and check by eye from both ends. A thumb’s width of wiggle at the base ruins a whole pillar’s burn, so centre it once and centre it well.
The Pour-Preparation Habit
Prepare everything before the wax melts, not after. Wax shifts temperature quickly, and chasing the right pour window while fishing for a pin is how beginners pour too hot. Laid out, measured, and ready first, then the melt becomes calm.
Step Two: Melt the Wax to the Right Temperature
The pour temperature decides the final look. Too hot and the pillar sinks as it cools; too cool and it air-pocks and cracks. A thermometer removes the guesswork. Different waxes print different target temperatures on their packet, usually between 76°C and 90°C, and the label rules every time.
The Gentle Melt
Fill the outer pan two-thirds with water, put the wax pot in, and heat slowly. Stir occasionally and keep the thermometer to hand. Melting fast on direct heat risks scorching the wax, which shows as discolour and a poor smell in the finished candle. Gentle heat, patience, and the wax repays you.
Hitting the Pour Window
Watch the thermometer and lift the pot at the label’s temperature, not by guesswork. Cool the wax slightly if you overshot, and let it settle rather than pouring at a boil. The right temperature gives a smooth, even surface that shrinks predictably. The thermometer is the whole difference between skill and luck.
Step Three: Pour, Cool, and Repour
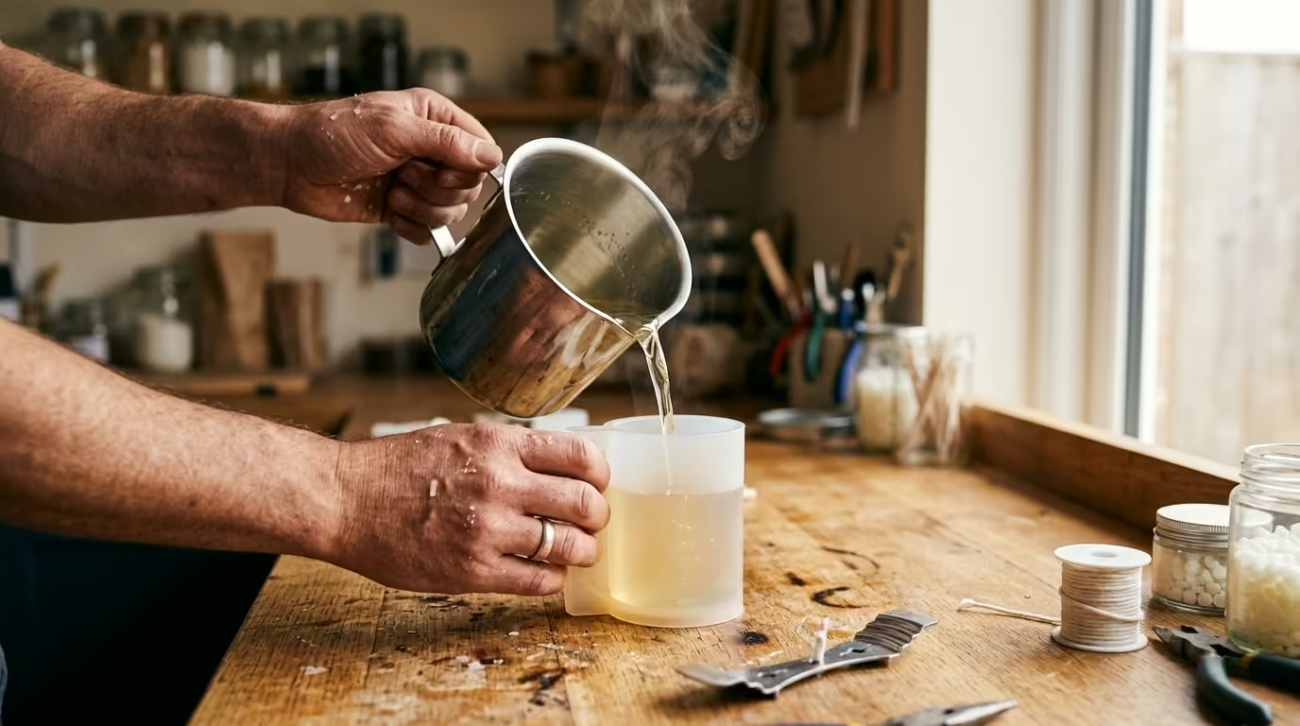
The pour itself is calm. Hold the pot over the mould, pour in a steady stream into the corner, and leave a little wax in the pot. As the pillar cools, the centre sinks slightly; the extra wax exists for the topping-up pour that follows.
The Deficit and the Top-Up
Wax shrinks as it cools, and a pillar always develops a small crater around the wick. Warm the reserved wax and pour it in after the first layer has set, about twenty to thirty minutes in. One top-up usually completes it. Skip this step and the pillar hides a sunken top inside a smooth rim.
Letting It Set
Let the pillar set fully before unmoulding, usually several hours or overnight. A warm, half-set pillar drags and distorts when pulled. Patience at this step is the difference between a crisp pillar and a bent one, so walk away and come back to a finished candle.
Step Four: Unmould, Trim, and First Burn
The reveal happens when the pillar is fully cool. Soften the silicone sides with a gentle twist and ease the pillar out, pull the wick straight, and trim the base flush with a bread knife or craft blade. Then dress the wick to a salt-grain length, and the candle is ready.
The Clean Trim
A wobbly base ruins an otherwise perfect pillar. Trim the bottom level so the candle stands straight and true. A foundation of cork or a pillar plate covers any tiny imperfection anyway, but a clean trim takes the pillar from home-made to made-well.
The First Burn Rule Applies
Even your own pillar obeys the first-burn law: let the whole top surface melt into a pool on the first session. That establishes the pillar’s memory, and a pillar that pools cleanly on day one keeps burning cleanly for all its days. Your handmade candle deserves the same respect you give the shop ones. If you want to see the full range, our candle moulds collection has plenty more like it.
Prepare for a Pillar Pour
Set Up Before Melting Wax
Pillar making becomes safer and more consistent when every tool is ready first. The maker should prepare the mould, wick, thermometer, scale, and heat-resistant workspace before melting begins. A level surface keeps the candle straight. Clean equipment also reduces marks and stray particles. Good preparation prevents rushed decisions when the wax reaches the correct temperature.
Choose a Useful Test Size
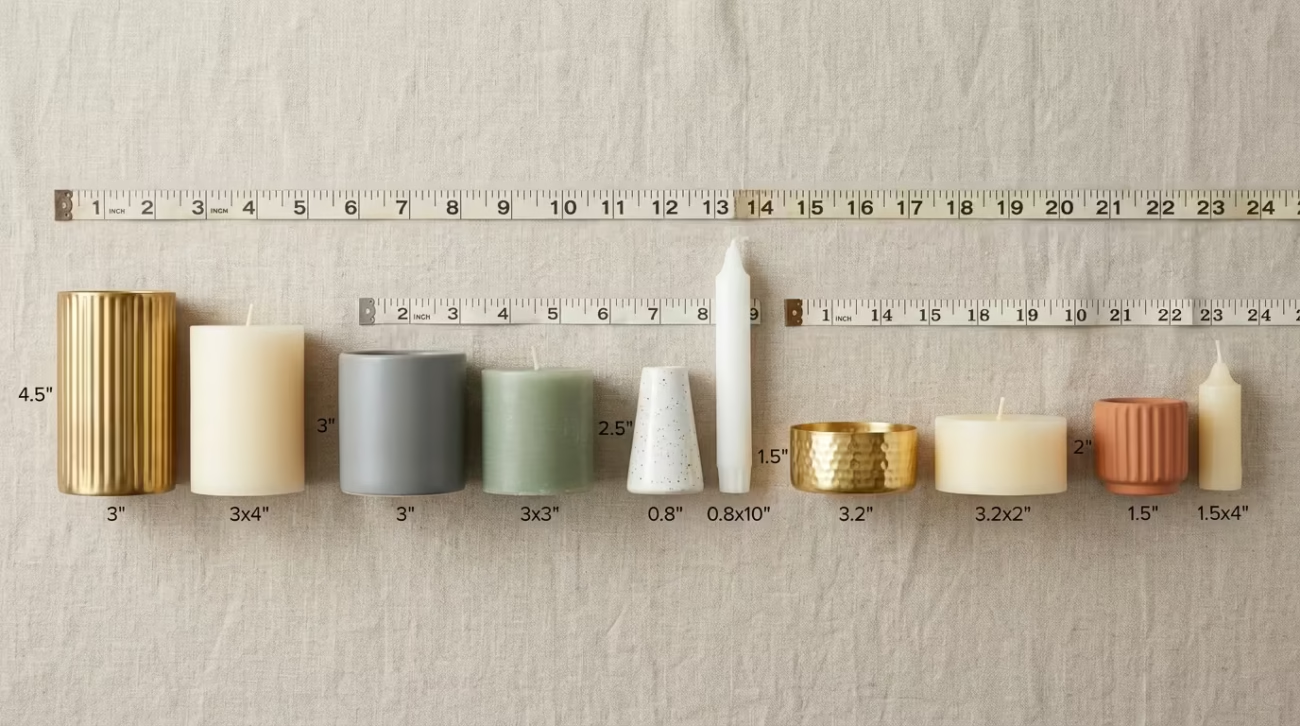
A medium pillar gives enough surface area to reveal wick and cooling problems without wasting a large amount of wax. A 60x120mm red pillar candle offers a practical reference for a first red pillar test. The maker should record each measurement so the next pour can improve rather than start from zero.
Frequently Asked Questions
What do I need to make a pillar candle?
A silicone pillar mould, container-free pillar wax like paraffin or a soy pillar blend, a suitable wick, a double boiler, and a thermometer. That is the whole kit. Most homes already own a pot and pan; the mould, wax, and wick are the only purchases.
What is the best wax for pillar candles?
Paraffin pillar wax is the classic because it holds its shape without a container and releases from moulds cleanly. Soy pillar blends work with a slightly softer result. Match the wax to your mould: label guidance on the packet states the correct pour temperature for each.
How long does a homemade pillar candle last?
Depends on size. A standard pillar burns roughly one hour per two centimetres of diameter, so a wider pillar lasts many evenings. Clean wick trims and proper first burns extend the total. Your home-poured candles typically match the shop versions on time.
Why did my pillar candle crack?
Most often because it cooled too fast, was poured too hot, or was not topped up. Gentle cooling, the correct pour temperature, and the reserved-wax top-up prevent the classic cracks and sinks. Slow, controlled cooling is the pillar maker’s best friend.
Can I add scent to my homemade pillar candle?
Yes. Add fragrance oil at the correct temperature for your wax, usually around 80°C, and stir thoroughly before pouring. Pillar wax holds a modest fragrance load well. Follow the wax’s maximum load guidance, because overloading a pillar can soften its structure.
Do I need to grease a silicone mould?
No. Silicone moulds release candles without greasing, which is their whole appeal for beginners. Pour clean and cool fully, and the pillar eases out with a gentle twist. Hard plastic and metal moulds need release care; silicone simply does not.
How do I get the pillar out of the mould?
Wait until fully cool, then gently flex or twist the silicone sides to break the mould’s hold and slide the pillar out. Never pull a warm candle. If a pillar resists, let it cool longer and ease again. Fully set silicone pours typically release without any struggle.
Where can I get pillar candle moulds and supplies?
The candles moulds range at Christmas Candles UK carries silicone pillar and shape moulds for home candle making. Pair a silicone pillar mould with a suitable wick and pillar wax, follow the pour temperatures, and your own first pillar is a couple of evenings away.
Conclusion
Make your own pillar candle and you have learned the whole craft in one shape: melt to the right temperature, pour into a centred wick, top up the slump, and unmould with patience. The mould, the thermometer, and the first-burn rule do the heavy lifting. What comes out is a straight, clean pillar that burns as well as any shelf candle.
Pour your first pillar this weekend. Pick a silicone mould from the candles moulds collection at Christmas Candles UK, follow the temperatures, and light the very first candle you made with your own hands.