
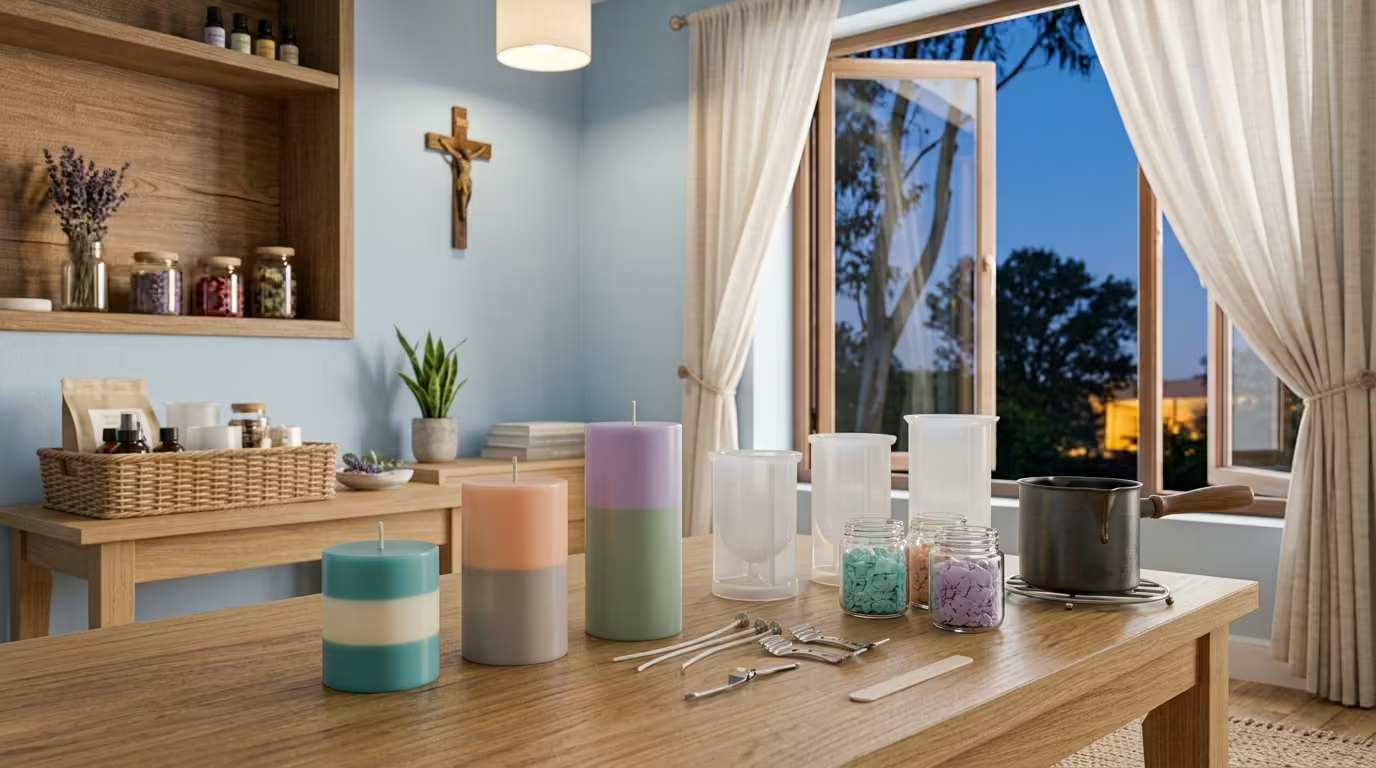
The first plain candle is a learning project. The second is a habit. And the candle that finally makes your friends ask “where did you buy that?” is almost always a layered one, a tall pillar wearing two clean bands of colour instead of one flat shade. It looks like a speciality-store piece, and it is secretly the whole beginner craft with one extra step.
A two tone candle happens by pouring twice, once per colour, letting each layer firm just enough to hold the next. The skill is real, the process is simple, and the wow is enormous. This guide covers the classic horizontal layered look plus a few variations that cost nothing extra. The related candle making beginner guide covers the core tools before a layered project begins. For more on this, see our guide on How to Stop Candles Cracking When They Cool.
Why Two Tones Look Harder Than They Are
The finished two-tone pillar looks like chemistry and machinery. In reality it is two ordinary pours separated by a waiting step. Each layer is a plain candle pour, one colour first, then the second colour on top once the first sets enough to hold it. Understand that and every technique below is just detail.
The Set Hardness Question
The whole art sits in one judgement: how firm the first layer must be before the second arrives. Too soft and the colours bleed together into a murky blend. Too firm and the layers separate into a visible seam. The beginner target is a firm-but-not-fully-set layer, roughly twenty to thirty minutes in.
The Finished Effect Choreography
Pour layer one, wait for the firm set, pour layer two, wait fully, unmould. The band sits exactly where you waited, and the pillar unmolds as one piece. The wait is the entire technique, and every layered trick in this guide is a variation on adjusting that wait.
The Equipment: Nothing New
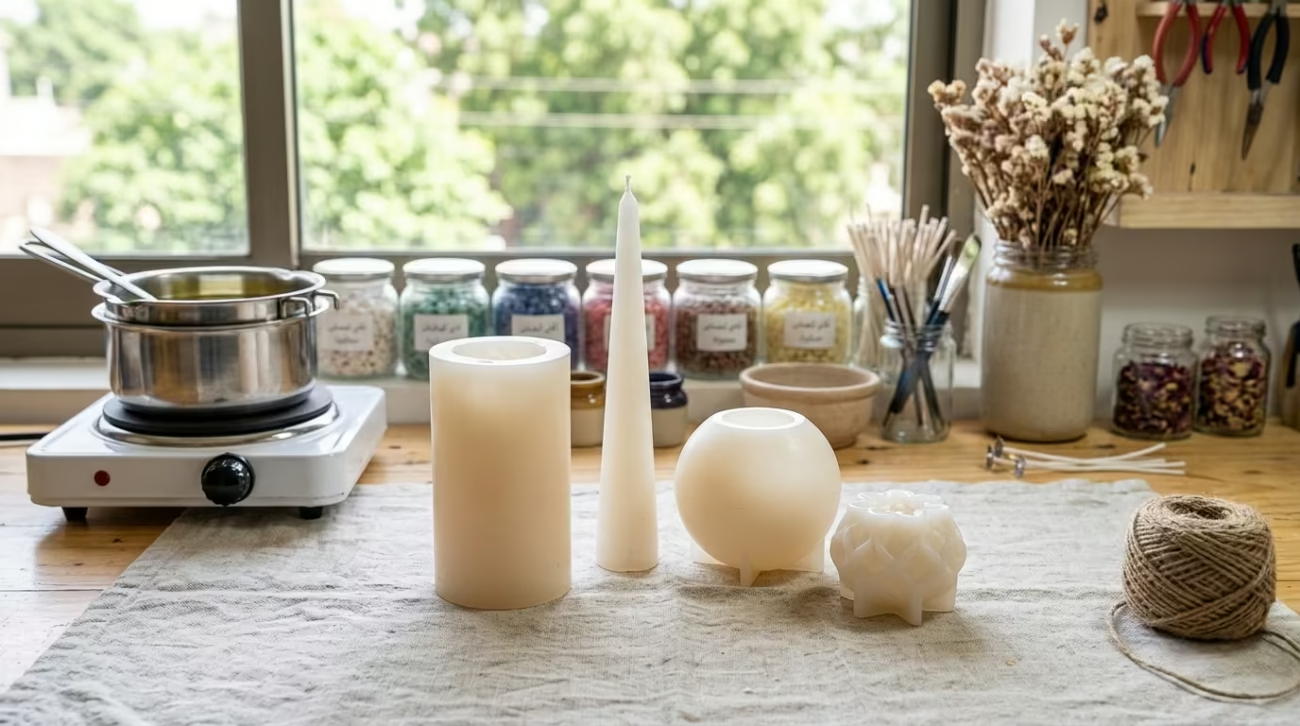
The layered candle uses the exact kit from your first pours. If a beginner kit exists in the house, the two-tone project adds zero items. The only extra is a second wax colour, and both colours can come from the same bag with cheap dye chips.
- Silicone pillar mould in your chosen shape.
- Pillar wax like paraffin for clean bands.
- Two dye colours in the wax-friendly chip form.
- Same wick, thermometer, and double boiler as always.
- A small extra pour pot so the colours stay separate.
Step One: The Base Layer Pour
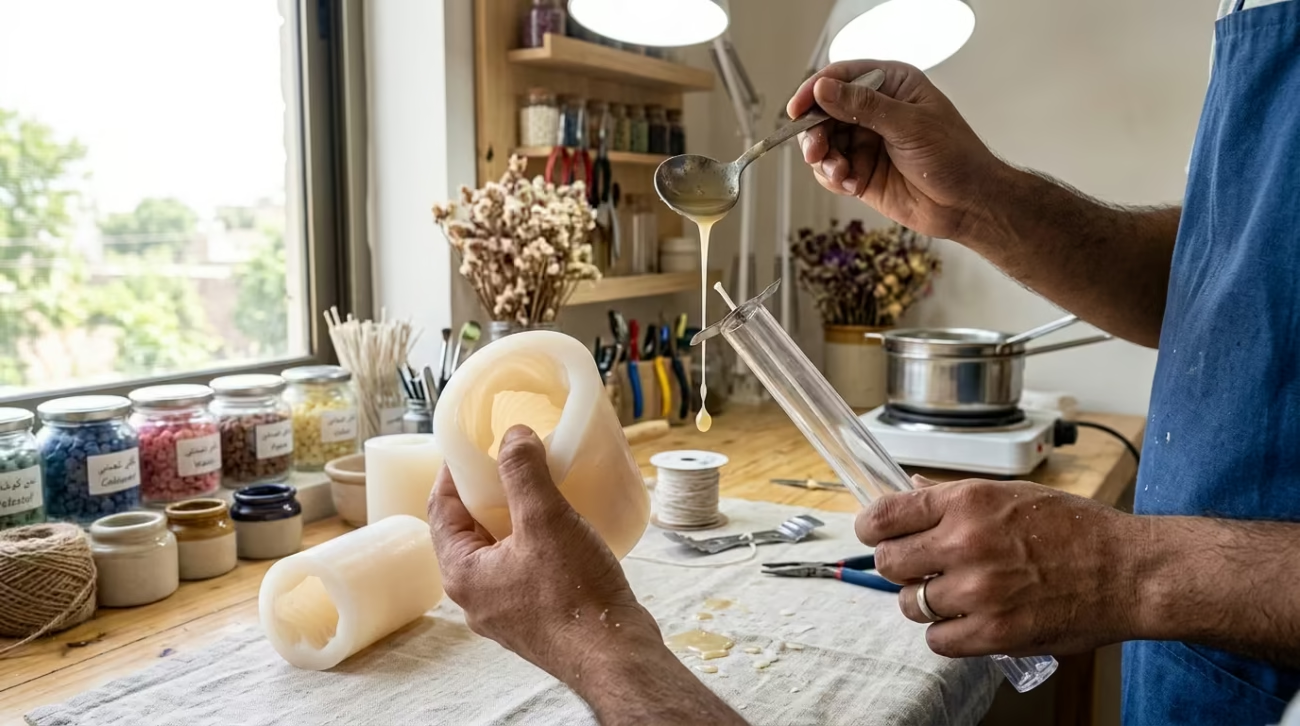
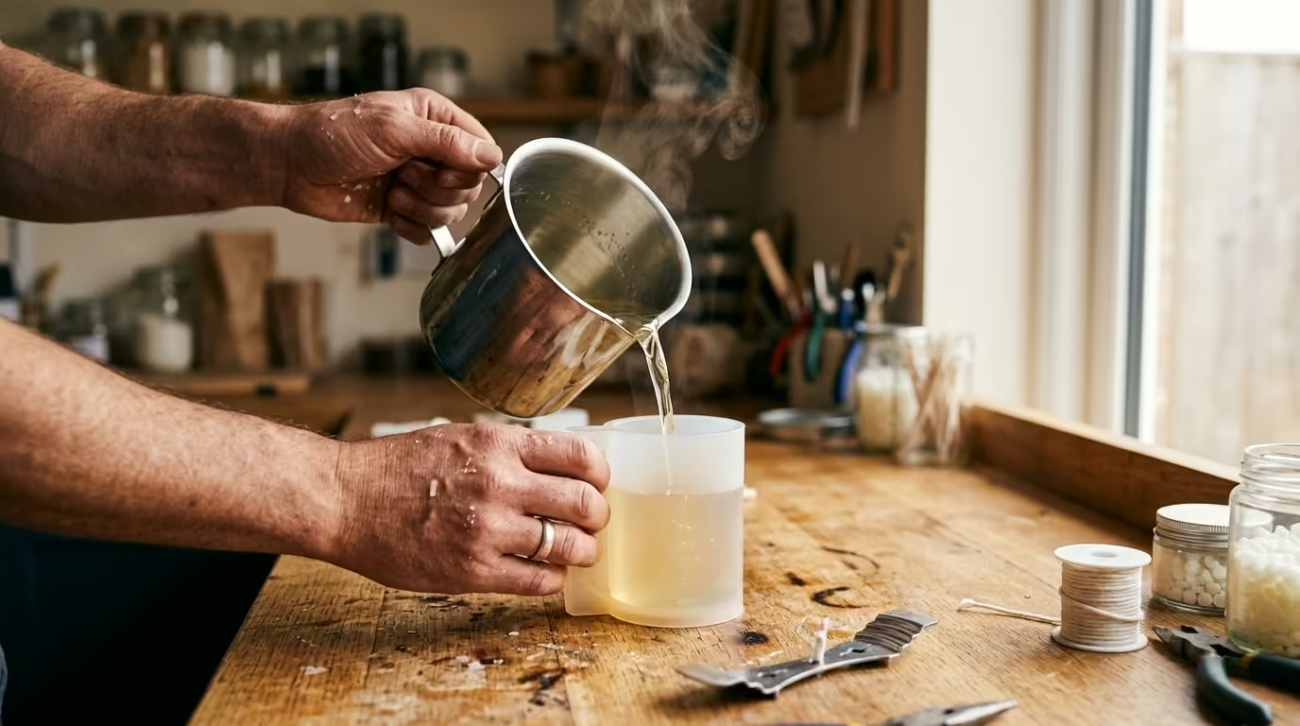
Start like any pillar: centred wick, melted wax, the label’s pour temperature. Stir in the first colour and pour into the mould to around halfway, or to the level where your band should sit. Leave a little of that colour wax in the pot for possible touch-ups.
Setting the First Colour
Let the first layer firm until a gentle touch leaves only the faintest mark, about twenty to thirty minutes at room temperature. This is the golden window. The surface should be set enough to hold weight but still soft enough to bond the next layer without a seam showing.
If the Base Layer Slumps
Cool rooms set wax faster and warm rooms slower, so seasons change the wait. Err on the side of a touch softer rather than firmer. A soft join blends naturally; a hard seam is visible forever. When in doubt, pour the second layer slightly earlier, and the candle forgives you.
Step Two: The Top Layer Pour
While the base firms, melt and colour the second batch. Check the temperature again, then pour the second colour onto the firm base in a steady, gentle stream. Pour over the back of a cool spoon if you want an extra-still surface, which keeps the new wax from punching into the softer centre.
The Almost-Controlling Spill
Pour steadily into the centre and let the wax find its own level against the mould sides. Pouring against the mould wall creates waves in the soft base; pouring down the middle keeps both layers calm. Slow is smooth, and smooth is the clean band.
Watching the Bond
Watch the join as the second layer pours. If the colours begin to bleed in a pleasing marbled drift, let it happen; that is a happy accident. If they mix entirely, the base was too soft. Either result is a candle; the perfect band only comes back next pour.
Variations on the Layered Theme
Once the horizontal band is mastered, the same two-pour logic bends into several looks. Each variation costs nothing beyond a little patience and gives the collection a new personality. Try them one at a time and let the mould decide.
- Slight slant: tilt the mould while the first layer sets.
- Wide and narrow bands: change the waiting level each pour.
- Three colour bands: add a third pour with patience.
- Marbled seam: pour the second layer a touch early for drift.
- Matching set: repeat one design across three pillars.
The Tilted Layer Trick
Set the mould at a gentle angle for the first layer’s setting period. The band pours diagonally across the finished pillar, which looks thoroughly intentional. Let the first layer set at the tilt, then stand the mould upright for the second pour. One angle, one personality.
The Triple-Band Leap
Three bands is simply two wa i t points instead of one. Pour the base, wait, pour the middle, wait, pour the top, cure. Each wait is the same twenty-to-thirty-minute window. The triple pour doubles the show and tests the patience, which is exactly what makes it worth doing.
The First Burn of a Layered Pillar
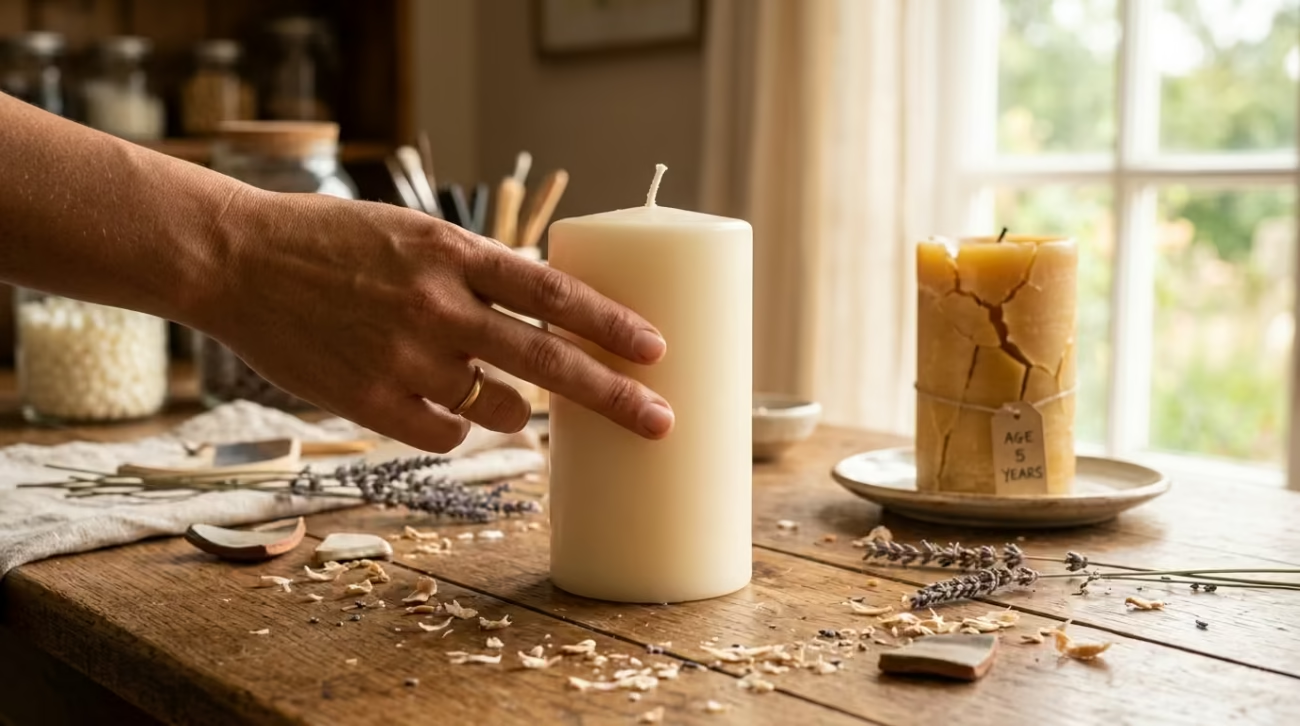
A layered pillar should burn exactly like a plain one, because it is one candle poured in stages, not three candles glued together. Hold it to the same first-burn law: let the whole top pool on the first session. The colour blends through the burn, and the layered bands show as the candle lowers.
The Pool Test
Light it well and let the top melt fully across to the mould walls before the first extinguish. A layered pillar pools the same as any pillar, and the band may dance as the melting line passes through it. That is part of the charm; the candle tells its story as it burns.
Making It Last
Trim the wick before every session and treat the layered pillar as you would any good candle. The colours will not act like separate layers down the wick; they burn as one body. A well-poured layered pillar gives the long, clean burn of any quality pillar of its size.
Keep Layered Candles Crisp
Plan the Pour in Advance
A two-tone candle looks clean when each layer has a clear plan. The maker should measure the wax for every section, prepare colours before heating, and mark the desired fill line. The lower layer needs enough time to support the next pour without becoming fully detached. This preparation keeps the boundary neat and reduces wasted wax.
Allow Each Layer to Set
Pouring too soon can make colours bleed together, while waiting too long can create weak joins. The maker should follow the wax instructions and test a small sample first. coloured art candle supplies offers creative material ideas for a coloured project. A stable wick and gentle cooling remain more important than a sharp colour contrast. You will find the full selection in our candle moulds range.
Frequently Asked Questions
How do you make a two colour candle?
Pour the first colour to a chosen level in the mould, let it firm for about twenty to thirty minutes, then pour the second colour on top. Set fully, unmould, and the two bands sit exactly where you waited. The waiting time between pours is the whole technique.
What wax is best for layered candles?
Container-free pillar wax such as paraffin holds its shape and gives clean band definition. Soy pillar blends work too with a softer join. Choose a wax whose label states pour temperatures, and the layers will set predictably at the right hardness window.
How long should I wait between pouring layers?
About twenty to thirty minutes at room temperature, or until the surface holds a light touch without breaking. Wait too long and you get a visible seam; wait too little and the colours bleed. Cool rooms shorten the wait and warm rooms lengthen it.
Why do my two colours bleed together?
The first layer was still too warm or soft when the second layer was poured. Wait for a firmer set, leave a little more time, or pour the second layer more slowly over the back of a spoon. If the bleed looks good, keep it; marbling is a feature.
Can I make a layered candle without a mould?
Yes. The same two-pour method works in a heat-safe glass jar: pour a lower colour, wait, pour a lighter colour on top. The result is a layered jar candle that shows the bands through the glass. The wait between pours stays exactly the same.
Do layered candles burn differently?
No. A well-poured layered candle burns as one body with the same first-burn rules and wick care as a plain pillar. The coloured bands may show as gently different tones as the melting line passes through, which is simply the candle telling its own story.
What colours look best layered together?
Ivory over a deep red, sage over cream, and warm gold over burgundy all read beautifully for the festive shelf. Choose a lighter top colour and a deeper base, since pigment density differs between wax colours. Trust the pairing your room suggests and the candle will suit it.
Where can I buy moulds for layered candle making?
The candles moulds range at Christmas Candles UK carries silicone pillar and column moulds ideal for layered pours. Pair a silicone mould with wicks and pillar wax, follow the wait between layers, and your first two-tone candle will look as good as any shop piece.
Conclusion
A two tone candle is two ordinary pours and one well-judged wait. Colour the base, pour the level, wait for the firm set, pour the top, and unmould the result. The golden window of about twenty minutes turns the craft from flat to fabulous, and the tilted and triple-band variations follow from the same one skill. Every layer you wait for becomes a band you wear as pride.
Pour a two-tone pillar this weekend. Pick a silicone mould from the candles moulds collection at Christmas Candles UK, choose two colours that suit your room, and let the wait between the layers earn you the best candle on your shelf.