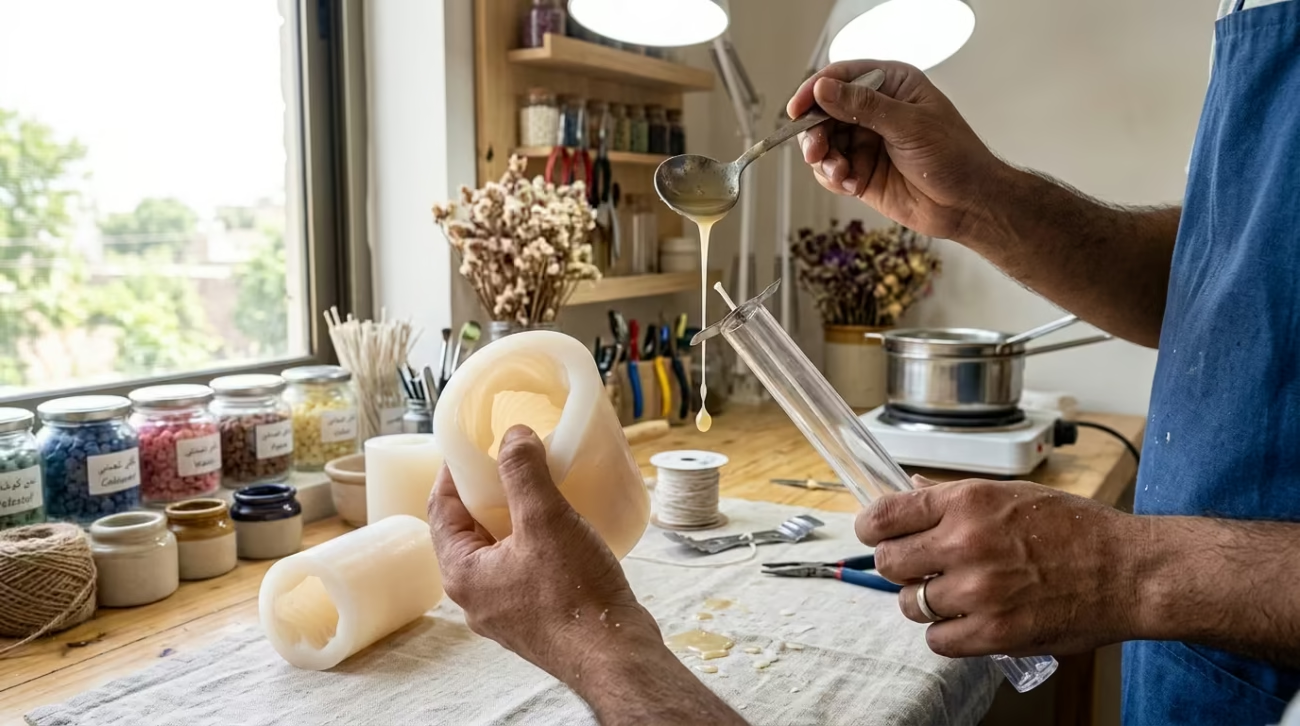

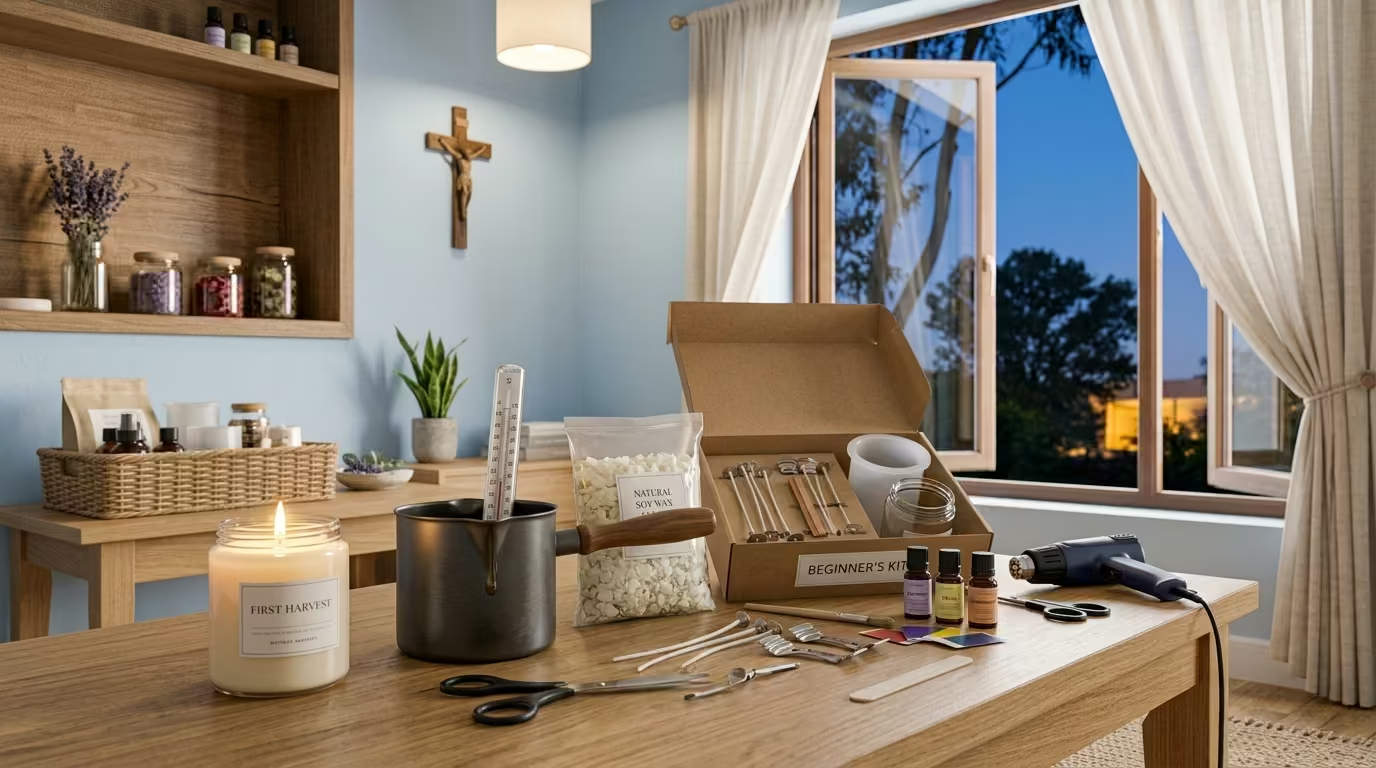
Everyone who makes candles remembers the first one. It might have been an awkward, slumping thing with a wick listing sideways, and it still felt like a small personal miracle. That first pour is the doorway into a craft that costs less than a bar of chocolate per candle and produces gifts nobody else has.
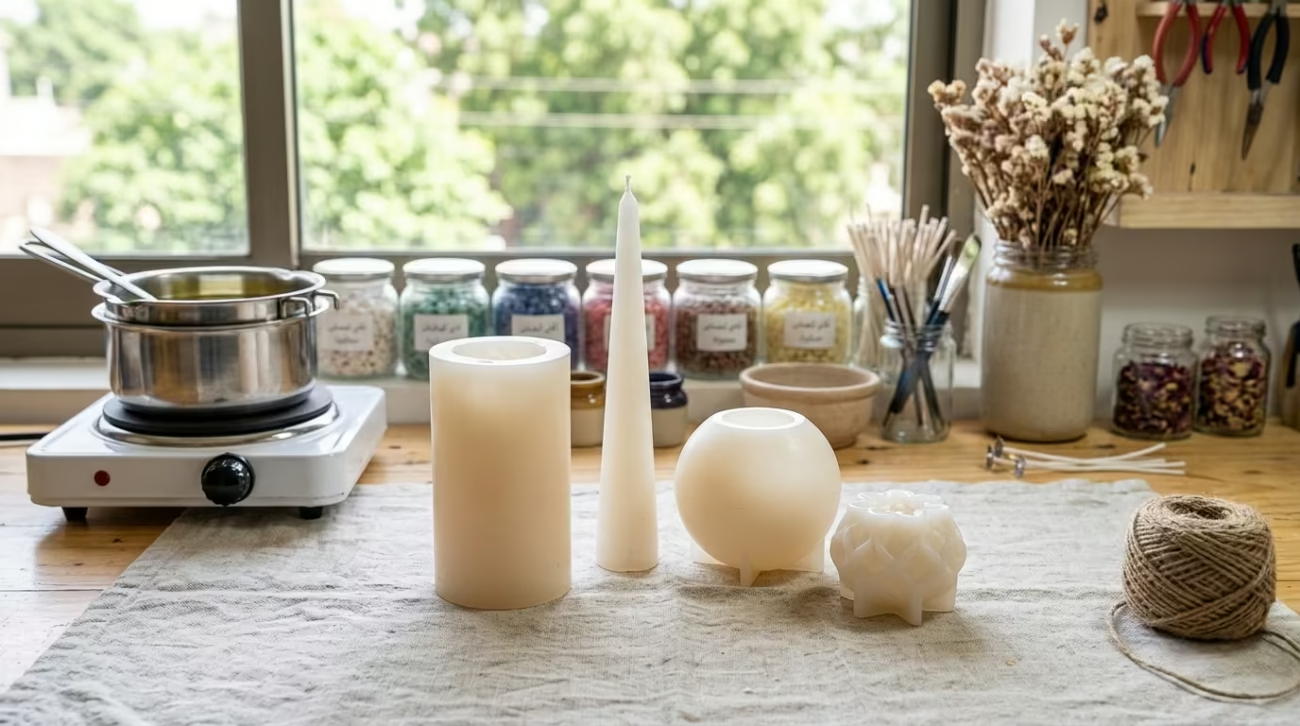
The whole craft compresses to about an hour of technique. Candle making for beginners needs one simple recipe, one mould, and the willingness to re-pour when the first attempt mates eccentric. This guide lays out the complete beginner path: the kit, the pour, the mistakes, and the moment you light your own flame. The linked wax for silicone moulds guide helps a maker choose a stable formula. Our guide on How to Choose Your First Candle Mould: The Shape That Sets You Up to Succeed covers this in more depth.
The Complete Beginner’s Kit
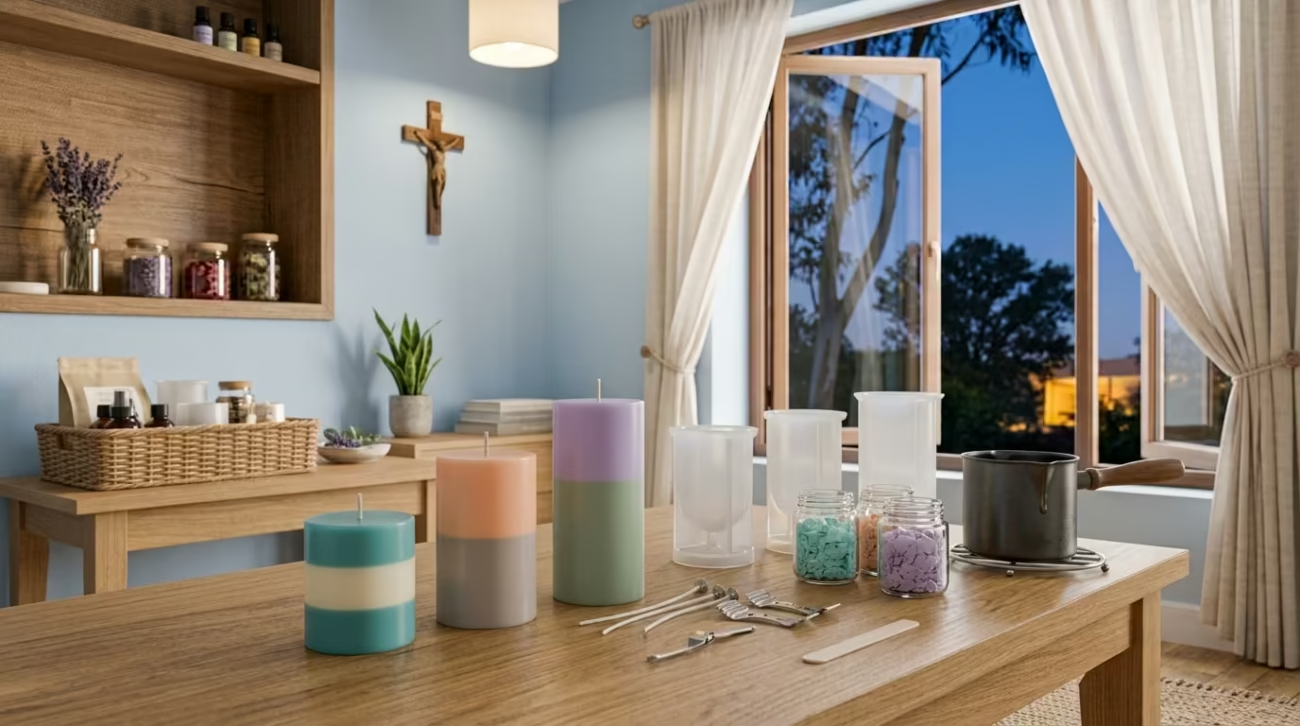
Candle making needs no laboratory. The beginner kit fits in one carrier bag and costs little. Buy the essentials first and upgrade later only when a real need appears. Most of the list is already around the house.
- Wax: paraffin or soy with its label’s guidance.
- Wick: sized to your chosen mould or container.
- Mould or jar: silicone mould or a heat-safe glass jar.
- Double boiler: a pot sitting in a pan of water.
- Thermometer: the cheapest accurate one you can find.
- Pins or chopsticks: to hold the wick centred.
The Wax Decision
Paraffin holds shape in moulds cleanly and is forgiving for beginners. Soy burns cleaner and suits jars. Either works; the label on the packet gives the pour temperatures. Pick one to start and learn it well rather than juggling two wax personalities at once.
The Thermometer Is Non-Negotiable
Beginners who pour by guesswork get sinking, cracked, or smoky candles. A thermometer turns wax from a magic material into a controlled one. The ten pounds spent is the best ten pounds in the whole kit.
The Beginner’s Recipe (One Candle)
One container candle is the perfect first project: melt wax, fix a wick in a jar, pour, set. The recipe below scales to any size. It builds every skill the craft uses and produces a candle you will actually light.
- Container: one heat-safe glass jar.
- Wax: about 250g of soy or paraffin for a standard tall jar.
- Wick: a jar wick suited to your jar’s width.
- Fragrance (optional): 5 to 7 percent of wax weight at the right temperature.
- Temperature: follow the wax label, usually 76°C to 85°C for pouring.
The Four-Step Pour
Every beginner project runs the same four steps in the same order. Master the order and the craft is yours; everything more advanced simply decorates these steps. Take them slowly the first few times and the candles improve visibly each pour.
Step One: Fix the Wick
Centre the wick in the jar, hold it straight with a pin or chopstick across the rim, and dab a touch of wax at the base to seal it. A centred, taut wick is the silent partner of every good candle. Get this right and the whole pour runs smooth.
Step Two: Melt and Measure
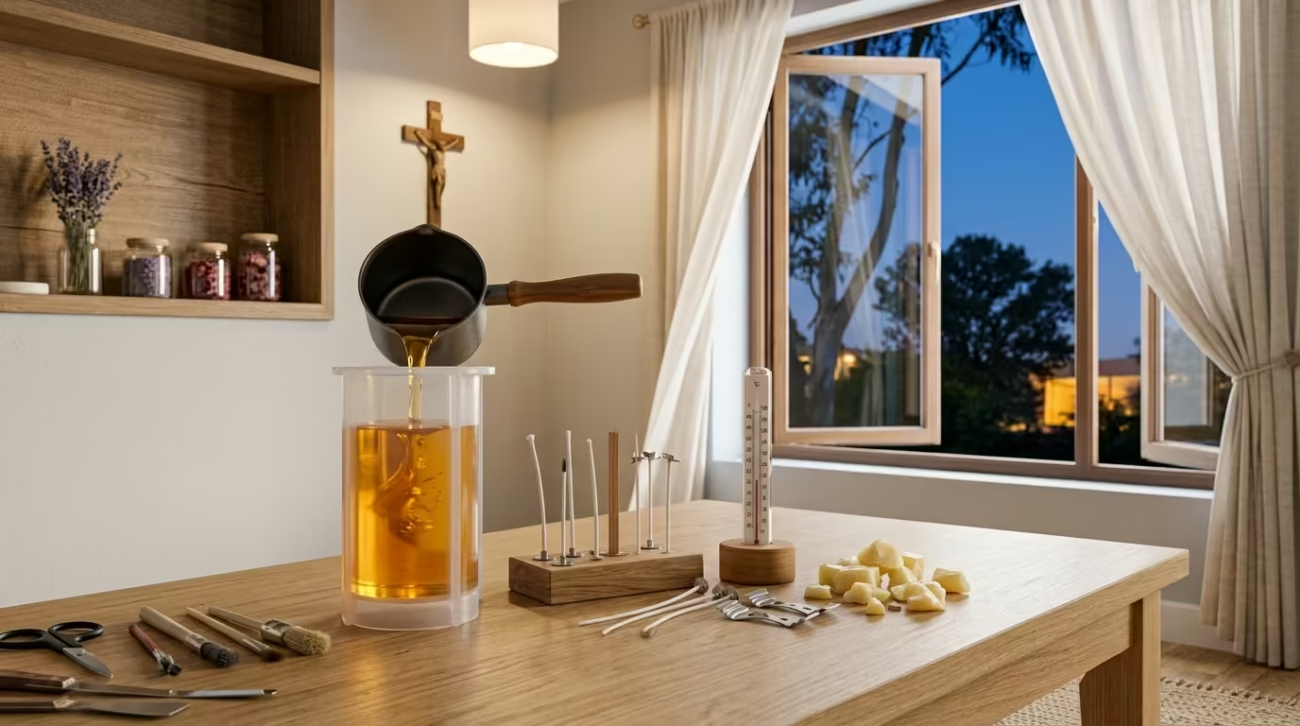
Fill the pan with water, set the wax pot in, and melt gently while stirring. Read the temperature and add optional fragrance at the label’s midpoint, stirring for a full two minutes. The thermometer decides when: never pour without its number.
Step Three: Pour Steadily
At the correct temperature, pour the melted wax into the jar against the side, slowly, one steady stream. Fill to just below the rim, leaving room for the set and any top-up. A steady single pour avoids air pockets and gives a calm, even surface.
Step Four: Set and Top Up
Leave the candle to set for hours. As it cools, the centre sinks around the wick; warm a little reserved wax and pour it in to finish flat. Let it cure fully before lighting. The candy-cure matters more than beginners expect.
The Four Beginner Mistakes (and the Fixes)
Every beginner makes these four. Read them now and you skip the whole classroom of errors in one sitting. Each fix is a sentence; each mistake avoided is a candle saved.
- Pouring too hot, which causes sinks and cracks. Use the thermometer.
- An off-centre wick, which tunnels and melts one side. Centre and pin it.
- Trimming too late, which soots the candle. Trim before every burn.
- Rushing the set, which bends and distorts the pour. Wait overnight.
The Overhot Pour
The urge to pour while the wax bubbles is the beginner’s classic. Hot wax pours, then shrinks and sinks unexpectedly. The label’s temperature is the voice of reason. Pour at the number, top up the slump, and the surface finishes flat.
The Rushed-Cure Mistake
A candle that looks set on top is often still soft an inch down. Light it early and the wick drowns in half-melted wax, so it flickers and tunnels. Give the candle a full set, usually overnight, before the first flame. Patience is literally part of the recipe.
How to Fix the Less-Than-Perfect Candle
Beginners obsess over perfection, and the truth is kinder: most flaws are fixable. A crater on top, a crooked wick, a rough base, all have simple remedies. The failed candle is part of the education and rarely a waste.
Fixing the Common Flaws
A top crater fills with a warm top-up pour. A bent wick straightens with gentle heat and a pin. A rough base trims clean with a knife. Melt-pour-melt-wait again fixes most disappointments. The candle is forgiving because the wax is, and a re-pour almost always rescues the first attempt.
When to Just Start Over
If a candle has cracked, slumped, or burned crooked, re-melt it in the double boiler and pour again. The wax recycles without loss. Beginners who know “the wax is never wasted” pour their second attempts without fear, and the second attempt is usually the good one.
Making It a Habit: From One to Many
The first candle leads naturally to the first collection. Set a repeatable rhythm, one project a fortnight, and the shelf fills. Soon the habit produces gifts, seasonal jars, and the quiet pride of a wall of candles with your name on them.
- Keep a small notebook of waxes, temperatures, and results.
- One project every week or two builds skill without burnout.
- Give candles as gifts to earn honest feedback.
- Try a new mould or scent each month to keep learning.
- Save the best pour notes as your personal mini-recipe book.
The Notebook Habit
The fastest-improving beginners keep notes: which wax, which temperature, which results. Two lines per project teach more than twenty videos. The notebook turns luck into technique, and technique is what turns a hobby into a craft.
The First Gift Moment
Lighting your own candle is a thrill; gifting it is another. Handmade candles make generous, honest presents, and the receiver’s reaction is the best feedback loop the hobby offers. Give your third or fourth candle to someone who will tell you the truth about it.
Build a Safe Starter Bench
Buy the Basic Tools First
A beginner needs fewer tools than many online videos suggest. A heat-safe jug, thermometer, scale, wick holder, and clean mould cover most first projects. The maker should keep a clear work area and protect the surface from hot wax. Fancy colourants and detailed moulds can wait until the basic pour behaves consistently. Our candle moulds range is worth a look if you want to compare a few options first.
Test the Wick Before Scaling Up
The wick controls the flame, melt pool, and burn speed. A small test candle can reveal problems before a large batch is made. candle wick making material can help a new maker compare wick sizes and placement. Every test should include notes about wax, diameter, fragrance, and the length of the burn.
Frequently Asked Questions
What do I need to start making candles?
Wax, a wick sized to your mould or jar, a mould or heat-safe jar, a double boiler, and a thermometer. That is the complete beginner kit. Start with one container candle, follow the wax label’s temperatures, and pour the first one over a single weekend.
Which is easier for beginners, container or mould candles?
Container candles are easier first: no mould to release, no seam to trim, and the jar holds the shape for you. Once you can pour a clean jar, move to moulded pillars. Most beginners start in jars and graduate to moulds within their first few projects.
What is the best wax for a beginner?
Soy in jars is the friendliest first wax, burning clean and pouring predictably. Paraffin suits moulded candles and holds shape without a container. Pick one, learn its label’s temperatures, and pour several before switching. Consistency teaches more than variety.
How much does it cost to start candle making?
Around the price of a takeaway for the whole kit: a bag of wax, a pack of wicks, one mould or jar, and a thermometer. Candles then cost less per item than buying. The kit pays for itself after a handful of pours.
Why does my candle smoke?
Mostly a wick that is too long or too thick for the candle. Trim the wick to a salt-grain length before every burn and match the wick to your diameter. Soot also comes from low-quality wax, which clean soy or paraffin avoids. Trim, match, and the smoke mostly disappears.
Can I make scented candles as a beginner?
Yes. Add fragrance at the wax label’s recommended temperature, usually around 80°C, and stir thoroughly before pouring. Use about 5 to 7 percent of wax weight for a gentle scent. Do not overload, because too much fragrance softens the candle and dampens the wick.
How long should I let a handmade candle cure?
Cure fully before lighting, typically overnight to two days, longer for scented candles. The set must extend through the whole candle, not just the surface. Rushing the cure drowns the wick; patience gives the cleanest first burn.
Where can I find starter candle-making supplies?
The candles moulds range at Christmas Candles UK carries silicone moulds, wicks, and candle-making materials for the home crafter. Kit up with a mould and wick, follow the four-step pour, and your first self-made candle is this weekend’s little miracle.
Conclusion
Candle making for beginners is one recipe, one mould, and four calm steps: fix the wick, melt to the temperature, pour steadily, set your fill. The thermometer is the whole secret, the notebook is the whole upgrade, and the re-pour is the whole forgiveness. Within a handful of evenings you will light a candle that exists because you made it.
Pour your first candle this weekend. Gather the kit from the candles moulds collection at Christmas Candles UK, follow the starter recipe, and keep the wax recycled until the craft clicks, because the first spark of it is closer than you think.