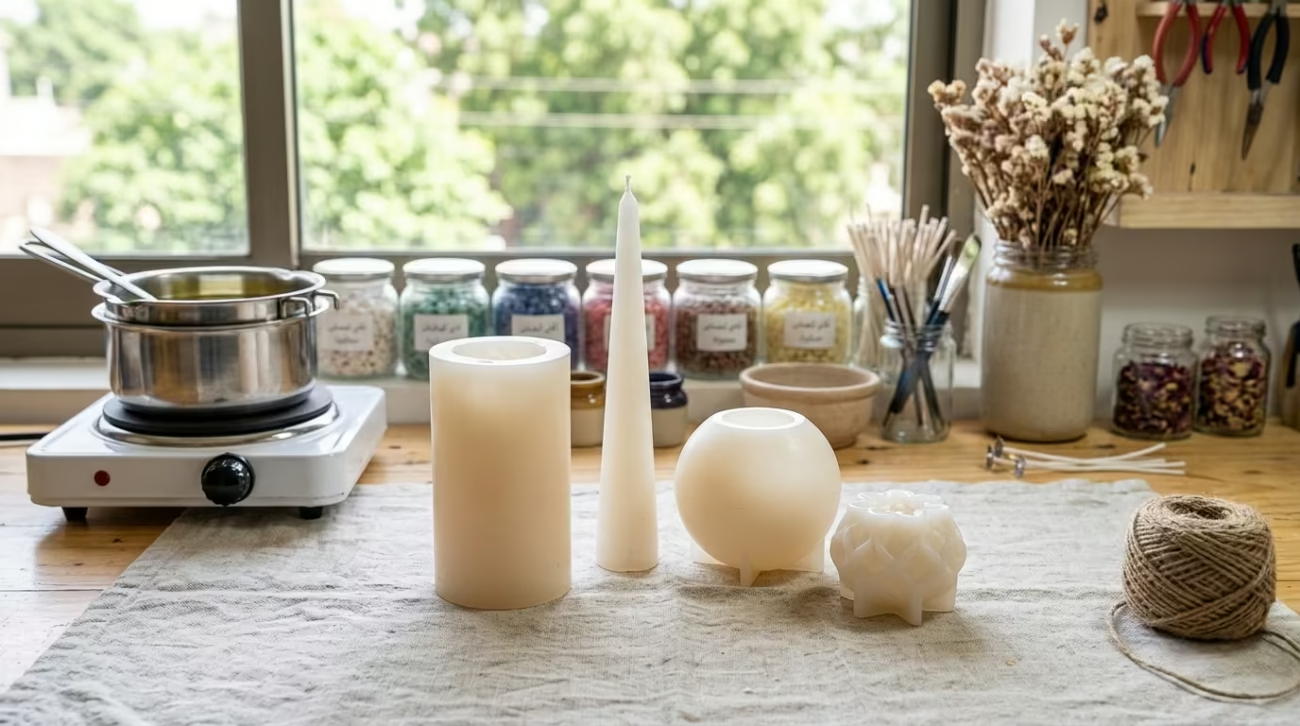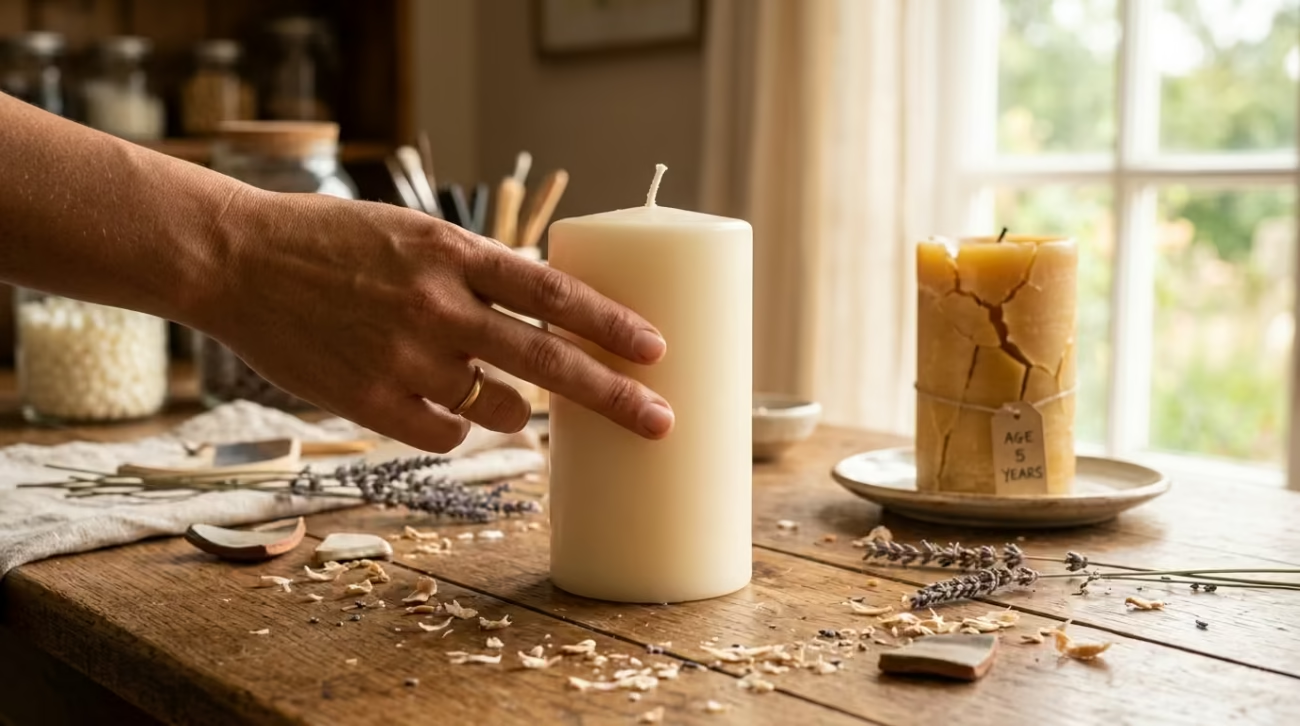


Nothing kills a candle-making session faster than a beautiful silicone mould and the wrong wax. You pour, you wait, and the candle comes out greasy, cracked, or stuck to the walls. The mould was fine. The wax and the job simply did not match.
Silicone moulds are the most forgiving tool a maker owns, but they still demand the right fuel. The best wax for candle moulds is a wax that hardens firmly, shrinks slightly, and releases from silicone without drama. This guide matches wax types to mould projects, explains melting points, and stops your next pour from leaving you with a sticky mess. The linked candle cracking guide explains how cooling problems can spoil an otherwise good pour. If this is useful, our guide on Advent Candles Explained: Tradition, Sizes and How to Use Them goes further into related ground.
The Golden Rule: Pillar Wax for Moulds, Container Wax for Jars
The candle world divides wax into two rough groups. Container wax is soft and sticks to glass, which is exactly what jars need. Pillar wax is harder and slips out of moulds, which is exactly what moulds need. Pour container wax into a silicone mould and you are fighting the material’s chemistry.
What Pillar Wax Does for You
Pillar wax sets firm, holds crisp edges, and contracts away from the mould walls as it cools. That slight shrinkage is the release mechanism. It also cracks less because it is designed to stand unsupported. Every professional moulded candle, from classic pillars to sculpted shapes, is made from a firmer blend for these reasons.
What Container Wax Does Wrong
Soft container wax adheres to silicone, leaves greasy marks, and dents under its own weight when you unmould it. It can also sink around the flame later. Using jar wax in a mould is the most common beginner mistake and the reason so many first attempts look like failed puddings. Read the wax label and buy a pillar blend for any moulded candle.
Paraffin vs Soy vs Beeswax in Silicone Moulds
Once you know pillar wax is the goal, the next question is which pillar wax family to choose. Paraffin, soy, and beeswax all pour into silicone, but each behaves differently at the release, detail, and finish stages.
- Paraffin pillar wax: Firmest and easiest to release. Crisp detail, glossy finish, needs fragrance and a stabiliser.
- Soy pillar blend: Softer and more natural. Releases well in flexible silicone but holds less fine detail.
- Beeswax: Luxurious, dense, and naturally fragrant. Costs more, cools slowly, and takes excellent detail.
The Reliable Paraffin Champion
Paraffin remains the workhorse for moulded candles because it melts cleanly, pours thinly, and releases from silicone with a satisfying pop. Its smooth surface takes colour beautifully. At Christmas Candles UK, the classic pillar candles are paraffin for exactly this reason, because a firm, detail-holding wax is what lets a pillar keep its silhouette to the final burn.
The Natural Soy Option
Soy produces a subtler, natural aesthetic and is popular for its renewable origin. To make soy work in a mould, use a soy pillar blend rather than pure container soy. Pour it slightly hotter, let it cool slowly, and accept a less glossy finish. The result is a soft, matte, eco-friendly candle that many makers prefer over paraffin.
The Luxurious Beeswax Route
Beeswax brings a honeyed scent, a dense structure, and a beautiful depth of colour. It is the slowest and most expensive option, but its slow cooling works marvellously with silicone, which insulates gently. Beeswax candles in silicone moulds earn their price with a premium finish few other waxes achieve.
Matching Melting Point to Silicone
Every silicone mould has a heat limit, usually far above candle temperatures, so heat is rarely a safety problem. What matters is the pour temperature your wax demands and the ambient room you cool it in. Match those two and your mould becomes effortless.
Pouring Temperatures Worth Knowing
- Paraffin pillar wax: melt and pour around 70–75°C, ideally about ten degrees above its melting point.
- Soy pillar blend: pour hotter, around 75–80°C, so it fills detail before thickening.
- Beeswax: works at high temperatures around 80°C and cools very slowly.
Always melt wax in a double boiler and use a thermometer rather than guessing. Guessing produces bubbles, voids, and cracked pulls that a thermometer prevents for a few pounds.
Cooling Slowly in Silicone
Silicone is a poor conductor, so it insulates the cooling wax. That gentle cooling is a blessing, because it stops the stress cracks that come from fast chilling. Let moulds cool at room temperature overnight. Avoid refrigerators, which shock the wax and split your candle along stress lines the moment it hardens.
Adding the Right Boosters for a Clean Release
Wax alone rarely gives a perfect moulded candle. A few additives and habits improve release, strength, and look without changing your whole process. Beginners who skip these fight problems they could have avoided in thirty seconds.
- Stearin or vybar stiffens blends and sharpens edges in paraffin moulds.
- A light release spray helps the first few pours until the mould is seasoned.
- Warm the mould gently before pouring to slow cooling and fill detail.
- Tap the filled mould to shake out trapped air bubbles near detail surfaces.
The Fragrance Question
Add fragrance at the right temperature, stirring gently so it binds rather than floats. Scented wax pours the same once blended, but over-scenting softens the candle. Keep fragrance load near the wax maker’s recommended percentage for moulds, which is usually lower than what jars tolerate.
Repours and Top-Ups
Moulded candles often need a second pour to fill the sinkhole left when hot wax contracts. Heat a little spare wax and top the mould after the first hour of cooling. Waiting longer makes the top pour separate as a visible line. A single well-timed top-up is the difference between a perfect candle and a cratered one. For comparison, our candle moulds collection covers a wider range of styles and prices.
Balance Wax With Cooling
Choose Stability Over Speed
Wax choice affects both release and the final surface. Softer wax can show a smooth finish, but it may need more support while cooling. Firmer blends usually hold a moulded shape well, though they can become brittle when handled too soon. The maker should test a small batch first. That test reveals whether the formula suits the mould before more wax is used.
Test One Formula at a Time
Changing wax, fragrance, colour, and temperature together makes a fault hard to diagnose. A better method changes one variable per test. A soy wax candle can provide a gentle soy-based reference for comparing surface texture and scent. The maker should record the pour temperature, cooling time, and release result after every trial.
Frequently Asked Questions
Can I use jar candle wax in a silicone mould?
You can, but the result is disappointing. Soft container wax sticks to silicone, leaves greasy smears, and dents when released. Use a firmer pillar blend for moulded candles instead. Matching the wax to the mould is the single best upgrade you can make.
What wax gives the sharpest detail in a silicone mould?
Paraffin pillar wax gives the sharpest, most durable detail because it is firm and shrinks away from the mould on cooling. Add a stiffener like stearin or vybar for even crisper edges. Beeswax also holds detail beautifully but is far costlier to experiment with.
Is soy wax good for candle moulds?
Soy works in silicone moulds if you choose a soy pillar blend rather than pure container soy. It releases well, looks naturally matte, and suits eco-conscious makers. Expect slightly softer edges and a longer cooling time than paraffin.
What temperature should I pour wax into a silicone mould?
Pour paraffin pillar wax around 70–75°C and soy pillar blends around 75–80°C. Beeswax prefers the hotter end. Always melt with a double boiler and check the temperature with a thermometer, since pouring too cool traps air bubbles and pouring too hot increases shrinkage.
Why is my moulded candle stuck inside the silicone?
Stuck candles usually mean the wax was too soft, the mould was new and needs seasoning, or you rushed the release. Warm the mould before the first few pours, allow full overnight cooling, and flex the silicone gently from the base. Avoid prying with sharp tools, which tear the mould.
How long should a candle cure before unmoulding?
Most moulded candles cool for six to twelve hours, but overnight is safest. The wax must be completely solid and slightly contracted from the walls. Rushing an unmould leaves dents and bends that no amount of patience afterwards can fix.
Do I need to add anything to help wax release from silicone?
Usually not, since silicone releases almost everything. For very new moulds or sticky blends, a thin coat of release spray or a wipe of cooking oil helps. After a few pours, the mould seasons and releases without assistance.
Where can I buy wax and compatible moulds together?
The candles moulds collection at Christmas Candles UK pairs flexible silicone candle moulds with the essential guidance for every pour. Check the product descriptions for pour guidance so your wax and mould set up consistent from the very first session.
Conclusion
The best wax for candle moulds is a firm pillar blend that shrinks away from silicone as it cools, allowing a clean release and sharp detail. Paraffin champions relief and crispness, soy brings a natural finish, and beeswax adds luxury, but all three share the same rule: hard wax for moulds, soft wax for jars.
Pair the wax to the shape, pour at the right temperature, and cool slowly overnight. Browse the candles moulds range at Christmas Candles UK, where soft silicone candle moulds meet the wax guidance you need for your cleanest pour yet.